You may be a classroom teacher, homeschooling mom or a parent who wants to give your child some meaningful activities at home. Mastering the basics of creating letters and being able to recognize them is key for ensuring reading success letter on! These ideas are fun, low-prep and great practice to help your child learn their letters.
8 Active Ways to Practice Letters
1. Write Letters in Playdough.
Give your child a small ball of playdough and have them roll it out on the table. Show them a letter card and have them press their finger into the playdough to copy the letter’s shape.
Increase difficulty: As your child becomes more aware of how different letters are formed, say the name or sound of a letter and ask them to write it in the playdough without looking at a letter card.
2.Write Letters With Shaving Cream.
Fill a plastic bag with shaving cream. Show your child a letter card and have them press their finger into the shaving cream to copy the letter’s shape.

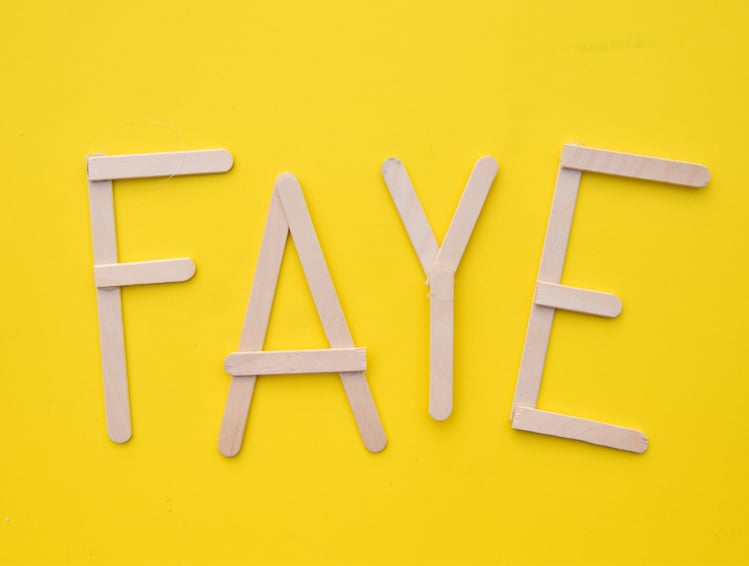
3. Make Capital Letters With Popsicle Sticks.
Some capital letters can be practiced using popsicle sticks. You can write: A, E, F, H, I, L, M, N, T, V, W, X, Y, Z, Purchase popsicle sticks from a craft store. Show your child a letter card and have them trace the letter card with their fingers, focusing on how many times their finger has to switch directions. Have them copy the strokes of the letter by placing a different stick for each stroke.
You can find free popsicle stick printable cards here. She uses all the letters and just cuts some popsicle sticks in half to make the curved letters. I wouldn’t recommend practicing the curved letters this way if your child is just beginning to recognize and practice letters. It distorts the true shape of some letters.
4. Write Letters In Sand Or Salt.
Make a small box by taking a plastic tub, baking pan, or lid of a shoe box and filling it with sand or salt. You can buy sand at most craft or garden stores. Show your child a letter card and have them press their finger into the sand to copy the letter’s shape.
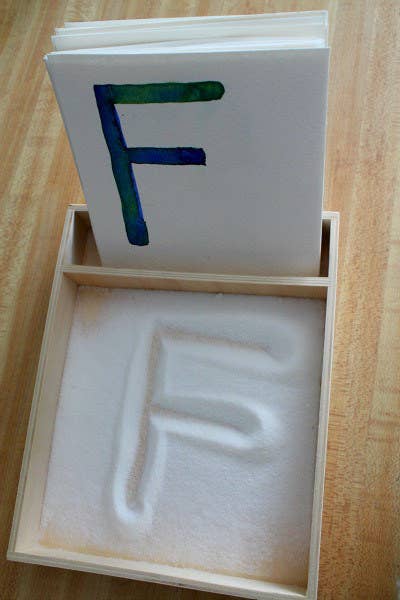
Increase difficulty: As your child becomes more aware of how different letters are formed, say the name of a letter and ask them to write it in the sand without looking at a letter card.
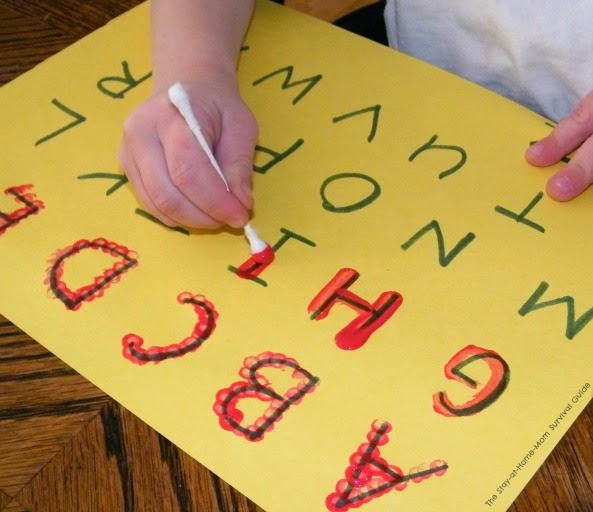
5. Paint With Cotton Swabs.
Print out or write letters A-Z on one piece of paper. Put a small amount of paint into a cup. Give your child a cotton swab. Have them paint over the lines of the letters on the sheet in the same way they would write the letters on paper. This great idea comes from Stay-At-Home-Mom.
6. Cover Up Or Fill The Letters.
Print out or write letters A-Z on paper. Easy Peasy Learners has some free Dot Letters that work great for this! I would put only 1 or 2 letters on each piece of paper if you decide to make your own. Have your child practice placing various objects on top of the letter.
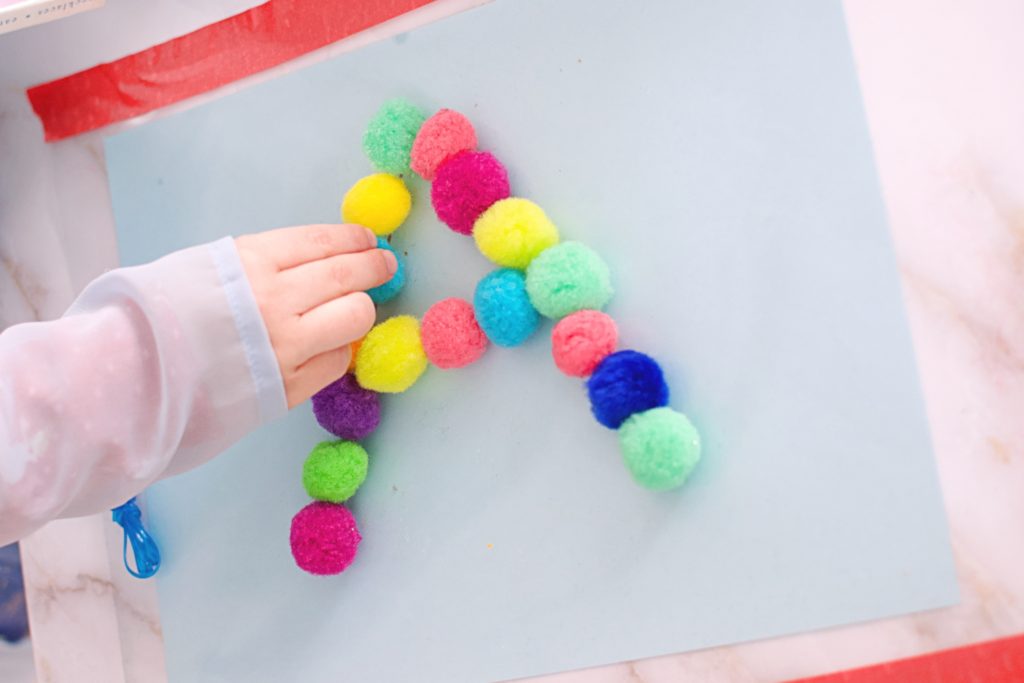
Somethings you can use are :
pom poms (like in the picture above)
pasta noodles
Legos
baby carrots
beads
stickers
This is a great fine motor activity for your young one!
7. Trace Letter Cards.
Print the letter cards from Teachable Teacher here. Cut around all the black lines. Slip each letter into the plastic page in a small photo album. You can get photo albums at the Dollar Tree. Have your child practice tracing the letter with their finger. The numbers and arrows show children which lines to trace first and in which direction. The strokes are the same strokes you would use to write the letter on paper.
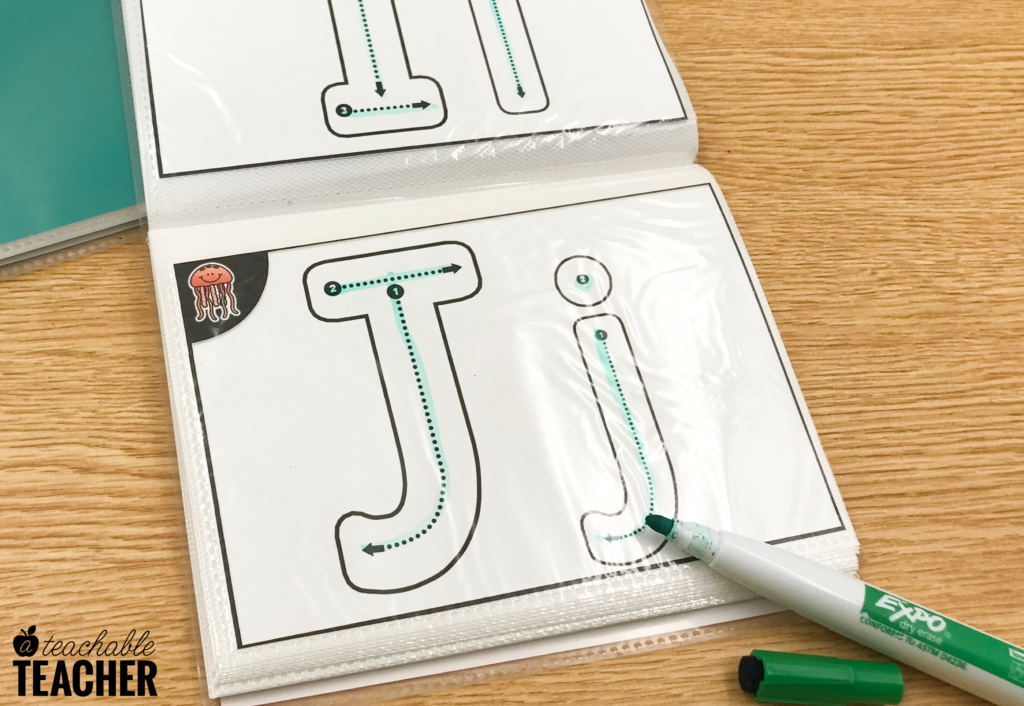
Increase difficulty: Next, have your child trace the lines using a dry eraser marker. You can easily erase the markers from these photo album sheets afterwards and have them trace the letters again at another time.
8. “Paint” Letters With Water.
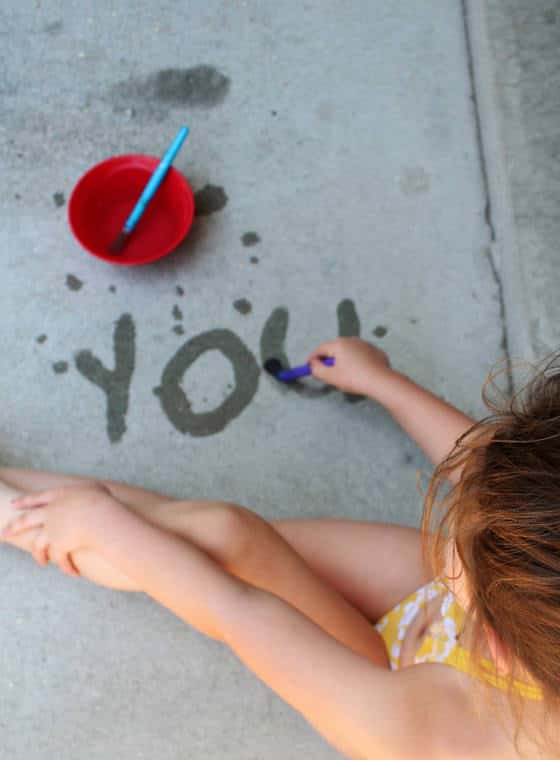
Here is a fun activity to teach your child their letters and play outside too! Write or print out letters a-z on a piece of paper. Go outside. Give your child a bowl of water and a small paintbrush (not too small like the paintbrushes you would use for watercolor paints). Have them practice dipping their paintbrush in the water and writing each letter on the concrete.
You can also use water and and a paintbrush to trace over letters on a piece of colored paper or a blackboard.
I hope you guys enjoy trying these activities out with your kids. It doesn’t have to be difficult or time consuming to teach your child their letters. They won’t even realize they are learning! If you want to find out more about how to support your child’s reading success, check out my post Ultimate Guide to Teaching Phonics.
Related Posts


